RovePlan

RV Emergency Roadside & Repair Tool Kit Checklist

Reviewed by RovePlan Editorial TeamUpdated 2026-11-197 min guide26 items in default profile (16 essential)

A practical 26-item roadside recovery and campground repair tool kit checklist built for US RV travel—covering high-PSI tire inflation, lug torque, 12V multimeter troubleshooting, emergency PEX/water leak fixes, and DOT highway visibility.

Disclosure: As an Amazon Associate, RovePlan earns from qualifying purchases. Read full disclosure.

Filter, Customize & Print Checklist

Trip Profile

All rigs · All Hookup Types · All Seasons · 4-7 nights · 2 travelers

0 / 26 items packed (0%)16 essential remaining

Print blank for a pen-and-paper clipboard list, or check items below first.

0 of 26 checked

Prints cleanly with pen-ready checkboxes (blank or filled).

Add Custom Trip Item (Saved Locally)

16 essential remaining

0/26 packed

Packing & Pre-Trip Field Notes

Building a Lightweight, High-Impact RV Repair Kit Around Common Failures

You do not need a full residential mechanic's chest to handle most common campground and roadside RV issues. Many common trip-interrupting glitches fall into four predictable categories: flat or under-inflated high-PSI tires, blown 12V blade fuses, leaking 1/2-inch PEX water fittings or hose washers, and small roof/trim tears from low campground branches. Packing a #2 Robertson square-bit driver, a digital multimeter, 1/2-inch push-to-connect PEX end caps, Eternabond roof tape, and a heavy-duty 12V air compressor handles these issues in minutes.

Roadside Tire Safety, Jack Placement & Fuel-Stop Thermal Checks

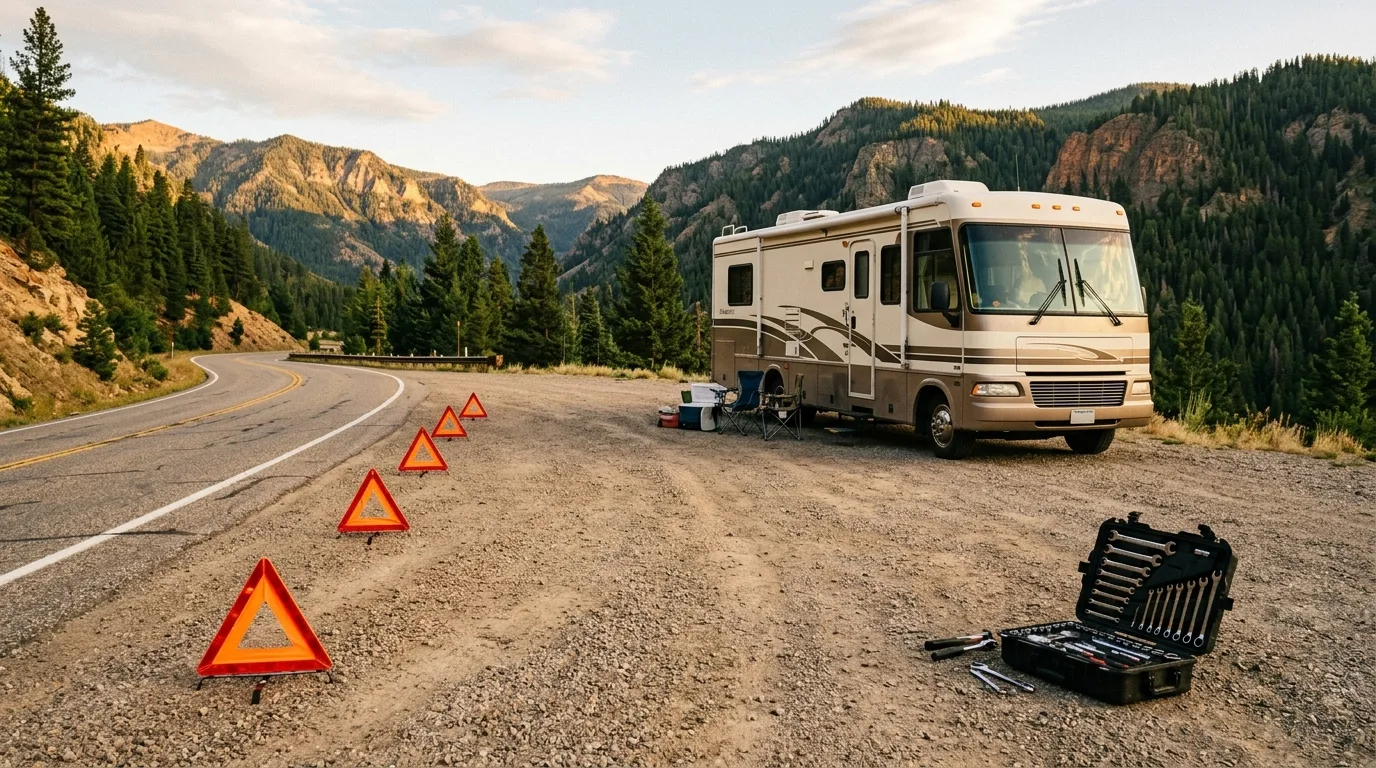
Changing an RV tire on an interstate shoulder is high-risk work. Reflective warning triangles and a high-visibility vest help protect your crew during roadside stops (federal FMCSR 49 CFR § 393.95 mandates commercial vehicles carry warning devices conforming to FMVSS No. 125, and carrying a set in every RV is strongly recommended): deploy triangles well behind the rig, chock the opposite wheels on solid ground, and verify factory jacking points in your RV owner's manual before lifting. Even better, carry a non-contact infrared thermometer to scan every wheel hub and tire sidewall temperature during fuel stops—catching a hot bearing or dragging brake early keeps your rig off the shoulder altogether.

US Safety Standards & Reference Sources

Always verify exact specs in your coach and tow-vehicle owner's manuals.

Field Guide: Key Specs, Pitfalls & Timing

Tools & Roadside Quick Reference

Key Numbers & Rules of Thumb

  • High-PSI inflators: trailer ST load-range D/E tires frequently require 65–80 PSI cold (Class A motorhomes 95–110 PSI)—a basic 35 PSI passenger car pump will burn out.
  • Lug torque spec: carry a 1/2-inch drive torque wrench rated to 150+ ft-lbs with deep-well sockets fitting BOTH your tow vehicle and trailer lugs.
  • Square Robertson #2 bit: over 90% of US RV interior trim, exterior compartment frames, and access panels use #2 square-drive screws rather than Phillips.
  • 12V fuse & PEX kit: spare ATC/ATO blade fuses (10A–40A), 1/2-inch PEX shark-bite caps, butyl tape, and Eternabond roof patch stop weekend trips from ending prematurely.

Common Rookie Mistakes to Avoid

  • Trusting a scissor stabilizer jack to lift an axle for a flat tire—stabilizers bend immediately under axle weight; pack a bottle jack or curved tandem drive-on ramp.
  • Lifting a travel trailer directly under the thin axle tube instead of the heavy steel main frame rail behind the spring hanger.
  • Driving on an underinflated ST trailer tire after a slow leak—heat flexes sidewalls to blowout within miles; keep an infrared temp gun + TPMS handy.
  • Troubleshooting dead 12V lights without a simple digital multimeter to test battery voltage (12.6V full vs. <12.0V dead) and pedestal leg voltage (114V–126V).

Pre-Trip Timing & Prep

  • Season opener: inspect spare tire air pressure (everybody forgets the under-slung spare!) and verify lug wrench socket fits both axles cleanly.
  • 7 days out: test portable jump starter / 12V air compressor charge state and restock zip ties, dielectric grease, dicor lap sealant, and spare 7-way fuses.
  • Roadside breakdown protocol: pull completely clear of traffic lanes onto firm shoulder, activate hazards, don high-vis vest, and set 3 reflective triangles behind the rig.

Frequently Asked Questions

Why do US RVs require a #2 square (Robertson) screwdriver bit?
Nearly every North American RV manufacturer uses #2 square-drive (Robertson) screws for cabinet hinges, wall panels, access hatches, and exterior molding because square bits resist cam-out during assembly.
What kind of air compressor do I need for RV tires?
Most travel trailers and fifth wheels run Load Range D, E, or G tires inflated between 65 and 110 PSI. Choose a heavy-duty 12V compressor with direct battery alligator clamps rated for at least 100–120 PSI rather than a light 12V socket inflator.
How can an infrared thermometer prevent RV roadside breakdowns?
During highway fuel stops, pointing a non-contact IR thermometer at each trailer wheel hub, tire sidewall, and brake drum immediately reveals dry wheel bearings or dragging brake shoes before a hub seizes or blows a tire.
Does standard roadside assistance cover RVs and travel trailers?
Many basic passenger-car policies do not cover towable trailers or motorhomes over a certain weight. Always confirm you carry an RV-specific roadside endorsement covering heavy flatbed or fifth-wheel recovery.
View all 15 checklists →