RovePlan

RV Campsite Breakdown & Departure Walkaround Checklist

Reviewed by RovePlan Editorial TeamUpdated 2026-11-196 min guide26 items in default profile (22 essential)

A step-by-step 26-item campsite teardown sequence for US campground check-out mornings—preventing ripped awnings, dragged shore cords, dropped wheel chocks, and missed hitch pins.

Disclosure: As an Amazon Associate, RovePlan earns from qualifying purchases. Read full disclosure.

Filter, Customize & Print Checklist

Trip Profile

All rigs · Full Hookups (W/E/S) · All Seasons · 2-3 nights · 2 travelers

0 / 26 items packed (0%)22 essential remaining

Print blank for a pen-and-paper clipboard list, or check items below first.

0 of 26 checked

Prints cleanly with pen-ready checkboxes (blank or filled).

Add Custom Trip Item (Saved Locally)

22 essential remaining

0/26 packed

Packing & Pre-Trip Field Notes

Inside-Out, Back-to-Front Breakdown Sequence at US Campgrounds

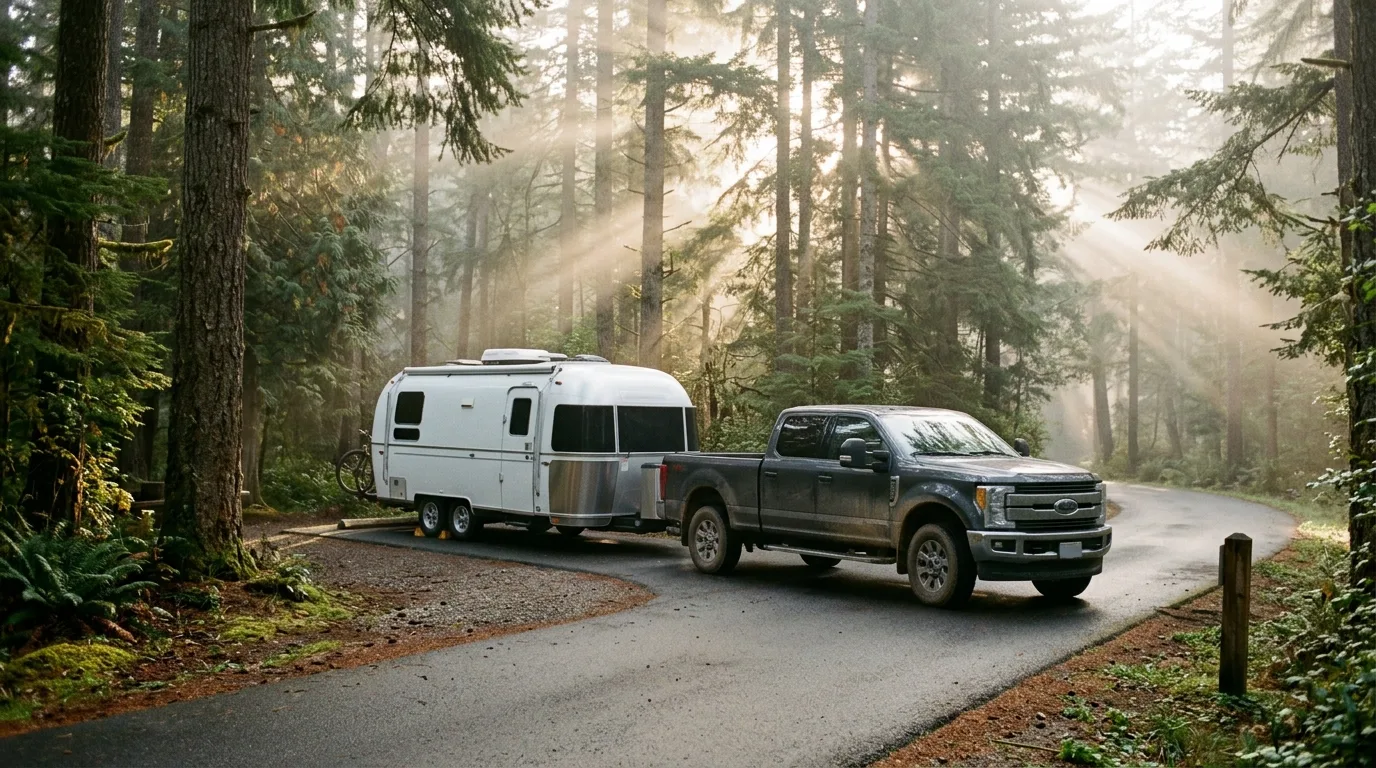
Check-out morning at busy campgrounds often triggers rushed mistakes—ripped awnings, forgotten EMS surge protectors on power pedestals, or bent stabilizer jacks. Following an invariable inside-out workflow eliminates guesswork: clear counters and lock the fridge first, close every roof vent and retract slide-outs, then move outside to dump black-before-gray tanks and coil potable hoses with sealed brass end-caps. Always flip the pedestal breaker OFF before disconnecting your 30A/50A cord.
The Final 15-Foot Sweep & Hitch Verification Habit

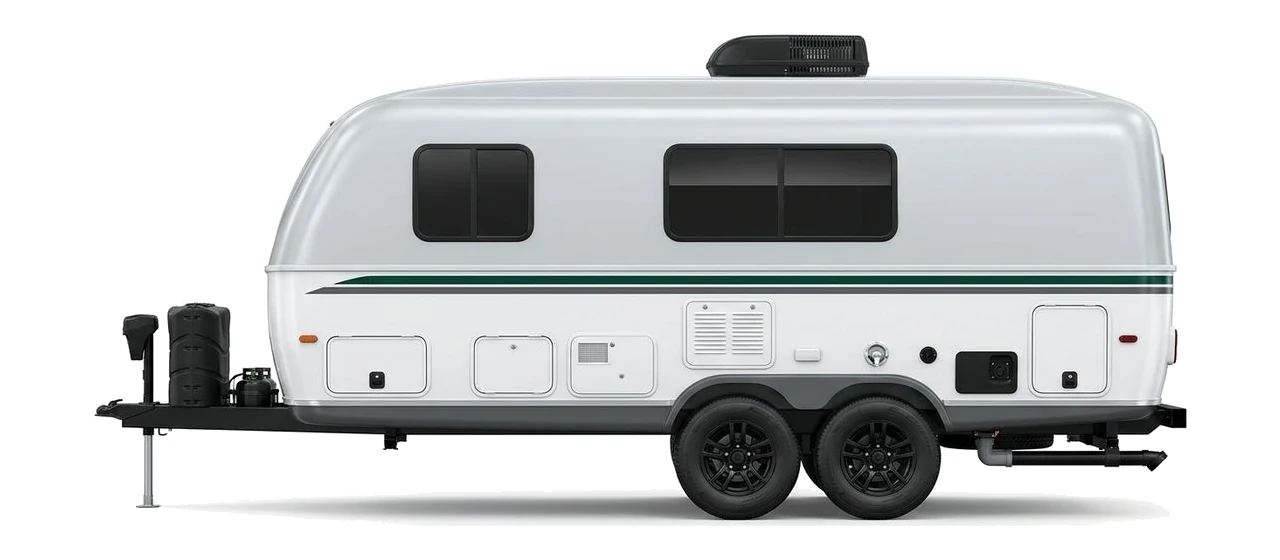
Never pull wheel chocks before hitching is fully verified: coupler latched and pinned, safety chains crossed, 7-way plug seated, breakaway lanyard clipped, and WDH bars engaged. Once chocks and leveling blocks are stowed, perform a hands-on 360° walkaround touching every bay latch, entry step, and tire. Finally, pull forward just 15 feet to visually confirm an empty, spotless campsite pad before merging onto the highway.

Visual Campsite Leveling & Chocking Reference

Technical illustrations of campsite side-to-side leveling and wheel chocking safety geometry (always confirm ratings in your RV owner's manual).

Campsite Leveling Blocks & Wheel Chocking Geometry

Chock wheels BEFORE unhitching

STEP 1: LEVEL SIDE-TO-SIDE FIRST

Axle Bubble Level
0° Level
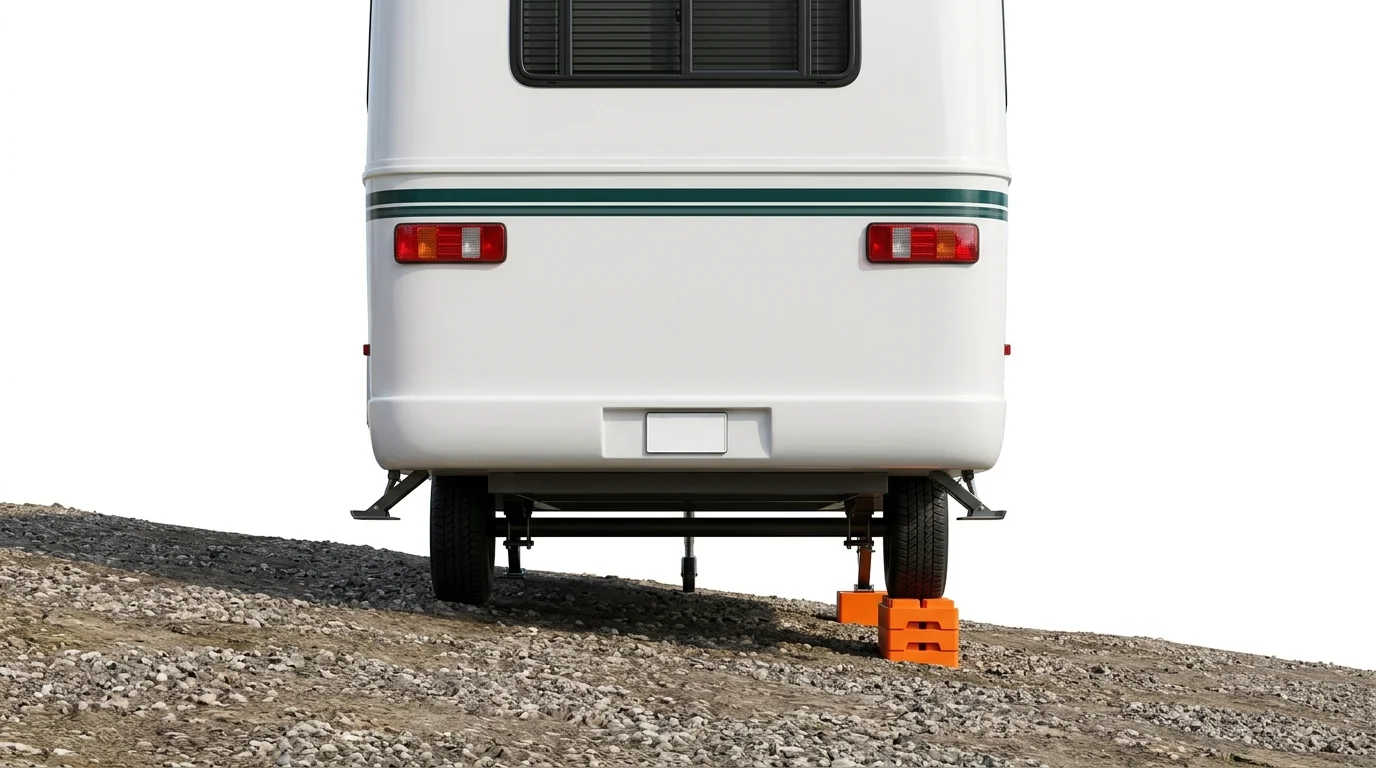
Illustration: Rear view of travel trailer resting level on sloped campsite ground with interlocking orange polymer leveling blocks stacked neatly under the low-side tire

Blocks under low-side tire

STEP 2: CHOCK TIRES BEFORE UNHITCHING

Jack AFTERUnhitch & level front-to-back second
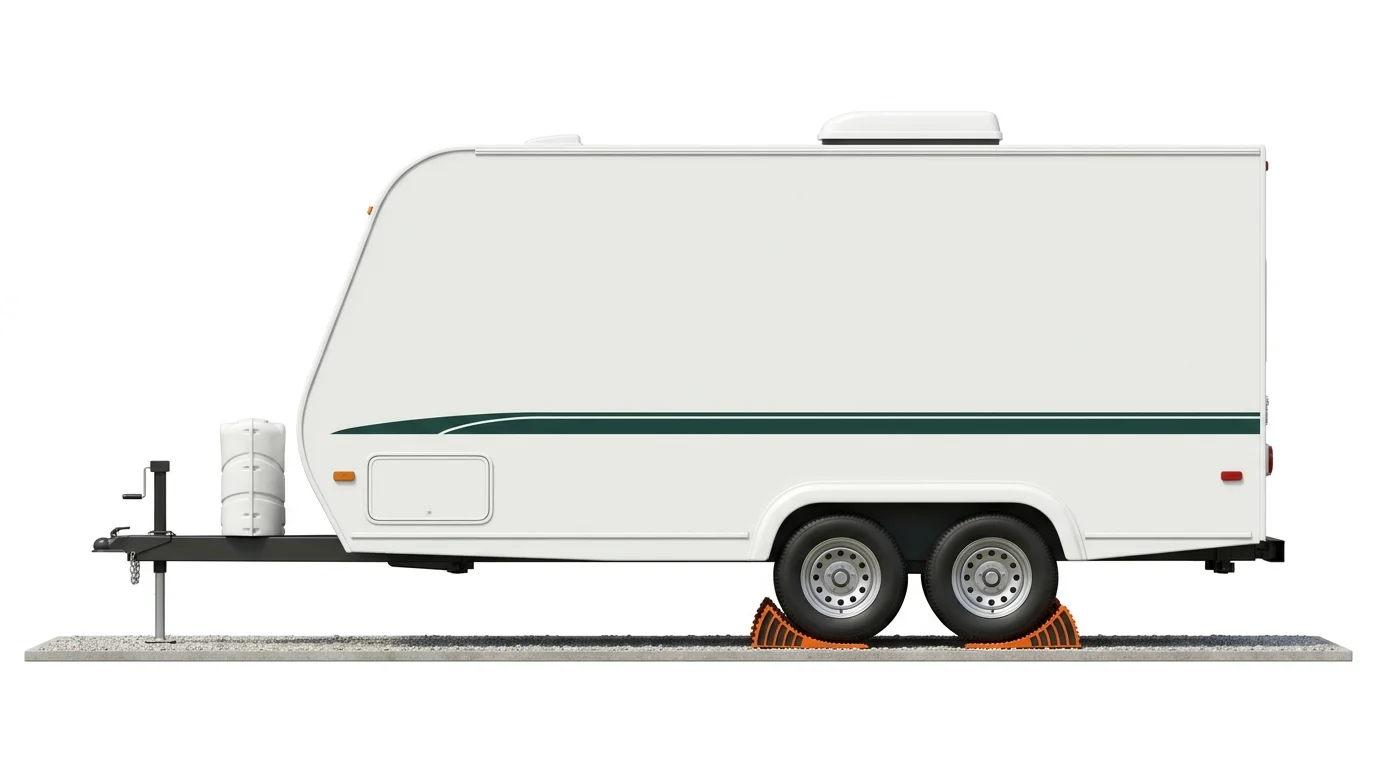
Illustration: Side view of tandem-axle travel trailer with heavy-duty orange wheel chocks wedged tightly in front of and behind the tires before raising the front tongue jack

Chocks wedged tight front & rear

US Safety Standards & Reference Sources

Always verify exact specs in your coach and tow-vehicle owner's manuals.

Field Guide: Key Specs, Pitfalls & Timing

Camp Breakdown Quick Reference

Key Numbers & Rules of Thumb

  • Hitch-up sequence: raise stabilizers completely -> connect tow vehicle & lock coupler/kingpin -> cross safety chains & plug 7-way + breakaway -> remove wheel chocks LAST.
  • Pedestal shutdown order: switch RV roof A/C & heavy loads OFF inside -> flip pedestal breaker OFF -> unplug RV cord from EMS -> unplug EMS from pedestal.
  • Tank dump order: open black valve first until flow stops -> run tank flush/rinse -> close black valve -> open gray valve to flush hose clean -> cap sewer outlet.
  • Slide clearance sweep: check roof tops for wet pine needles/branches and clear interior floor/cabinet doors before retracting any slide-out.

Common Rookie Mistakes to Avoid

  • Pulling forward over wheel chocks, shore cords, or sewer elbow hoses left hooked behind the rear axle.
  • Switching the RV water heater electric element ON when draining tanks or leaving camp without checking if the propane/12V fridge auto-switched properly.
  • Leaving rooftop vents cranked open or forgetting exterior compartment locks—a single highway crosswind will snap open roof plastic covers.
  • Backing into site posts because nobody watched overhead limbs or rear bumper clearance while pulling out.

Pre-Trip Timing & Prep

  • Night before checkout: gather outdoor chairs, awning lights, and rugs cleanly into lower bays; confirm check-out hour (often 11 AM) and dump-station line timing.
  • 45 minutes before departure: turn water heater OFF, shut water spigot, drain hoses, dump holding tanks, and retract awning/slides cleanly.
  • Final 2-minute walkaround: walk a full 360° circle touching hitch coupler, crossed chains, brake lights, bay doors, entry steps, and scanning the empty campsite pad for forgotten gear.

Frequently Asked Questions

What order should I dump RV black and gray holding tanks on check-out day?
Always open and empty the black tank valve FIRST, run the tank flush if equipped, and close the black valve. Then open the gray tank valve SECOND so soapy shower and dishwater rinse the sewer hose clean before stowing.
Should I turn off the campground pedestal breaker before unplugging my RV?
Yes. Always switch interior heavy loads off and flip the campground pedestal breaker OFF before pulling your 30A or 50A plug to prevent electrical arcing at the prongs.
Why do experienced RVers pull forward 15 feet and stop to look back?
The most frequently left-behind campsite items—wheel chocks, leveling blocks, EMS surge protectors still plugged into the post, and dog tethers—are easiest to spot once the RV clears the pad.
When should wheel chocks be removed during campsite breakdown?
Always remove wheel chocks LAST—only after the trailer is securely hitched onto the tow vehicle with locking pin, crossed safety chains, and breakaway cable attached (or for motorhomes, once ready to shift into Drive).
View all 15 checklists →